Getting started
To open the ID program, click on the 'ID Production' icon. The login is 'access' and the password is 'ssecca'.
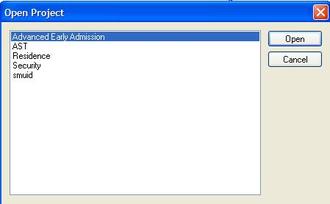
Select the required card from the 'Open file' icon at the top of the screen. A drop-down box will appear:
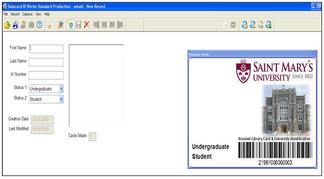
Highlight the required card and click on 'Open'. We now have the template for the required card:
Using the application form provided by the patron, input the patron's personal information in the appropriate fields.
- Make sure that the information being input is accurate.
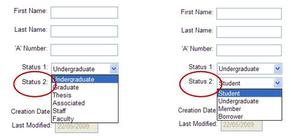
- Pay special attention to the patron's status. As you can see, there are several options:
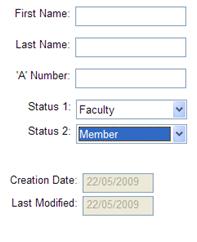
Therefore, we can opt for other variations such as Faculty (Status 1) with Member (Status 2) and arrive at:
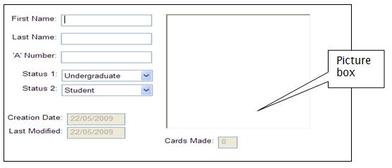
After inputting all relevant information, have the patron sit in front of the ID screen and then click on the picture box:
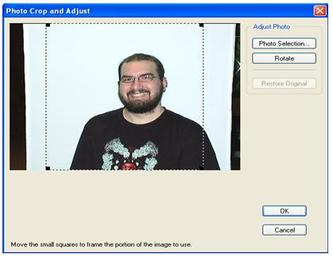
A new screen opens:
We now have an image of our patron. Since the aim is to produce the best possible likeness of the ID card, we now must 'work' the image. Click on the button 'Photo Selection...'
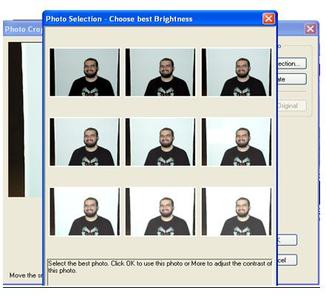
We now have several options:
Select and click on the option which best reflects the patron. For instance, for darker complexions you would select a lighter photo.
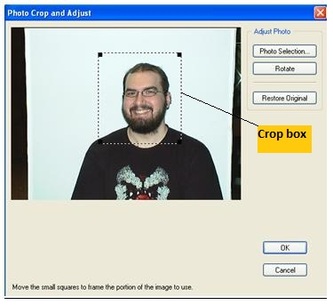
We now arrive at:
Using the right and left mouse buttons, you can manipulate the crop box. Click on one corner of the image and reduce the size of the picture until only the patron's head and neck, with a small border, are visible (generally the top of the head to the collarbones). Click 'OK'.
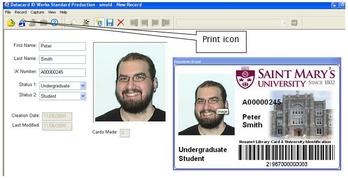
We now have the finished product. Click on the print icon and a card will be printed.
- Remember to write the barcode number on the ID form filled out by the patron.
Different card? Remember step 1? Select the appropriate card template and input all relevant patron information. As in the SMU card used as an example above, always try and ensure that the best possible representation of the patron is secured.
Back to Patron information
Back to Patron information
